Thursday, December 6, 2012

Glittery angel wings tutorial

I know Halloween is long over (and this costume was from Halloween of last year, yikes!), but Christmas is coming - this would be perfect for Christmas plays, etc. In fact, we're even using it for this year's card! And I've been so busy working on projects that I haven't had time to update - but it doesn't mean I haven't been doing anything, that's for sure!

I live for making Halloween costumes for my kids - it's the highlight of my crafting year! So while they're still young and actually continue to let me do this, I will do my best to give them what they want - within reason. It can't be all blood and guts, and it has to be something I can make.

Last year my daughter wanted to be an angel. I try not to "steer" them too much but coach them to come up with something imaginative. Not that angels are bad, but I figured there'd be a million of them, and how would we make ours stand out? (Because I am just anal that way, obviously...)

Although there are commercial patterns available, we found a first communion gown that was perfect - easy peasy! So it was time to make the wings. They had to be glittery, feathery, everything an angel's wings should be, you know.

I started with a template, made out of a large sheet of paper (or sheets taped together) and folded in half. Once you figure out how large they should be, open your sheet and trace the cut out onto a piece of foamcore posterboard. You might want to score the outline first with an Exacto knife and then cut, smoothing any rough edges down with some fine sandpaper.

To make straps, cut slits in the middle part of the wings and thread a long piece of half-inch elastic through them. Don't forget to try them on at this point to make sure they fit and hold up the wings - obviously if they're too long your wings will sag! Mine were long enough that I could still machine sew the ends together.

Now comes the fun part - decorating! I used a combination of glitter, feathers and silver bugle beads, but you could probably use just about anything, really. For mine, I started on the outside edge first, and ran a bead of Elmer's glue all the way around. Use a paintbrush or your fingers to smooth it out.

Then I did the same thing again, this time adding a row of bugle beads. If I remember correctly, I think I let the beads and glitter dry before adding the feathers.

I bought my feathers from AC Moore, a craft store in my area, pretty inexpensively. According to my (now expired) receipt, I bought 10 bags of feathers (4-6 inch size) at $1.59 a piece, and have six bigs left. I kind of layered the feathers so as to cover up the stubby ends, and this is what I came up with:


Depending on how much time (and patience) you have, you can either use regular glue or hot glue to affix the wings. I used hot glue and it didn't seem to melt or harm them - whatever works! I did layer them in such a way that they're all facing one direction, starting from the bottom of the wings.

The finished product! They looked awesome.

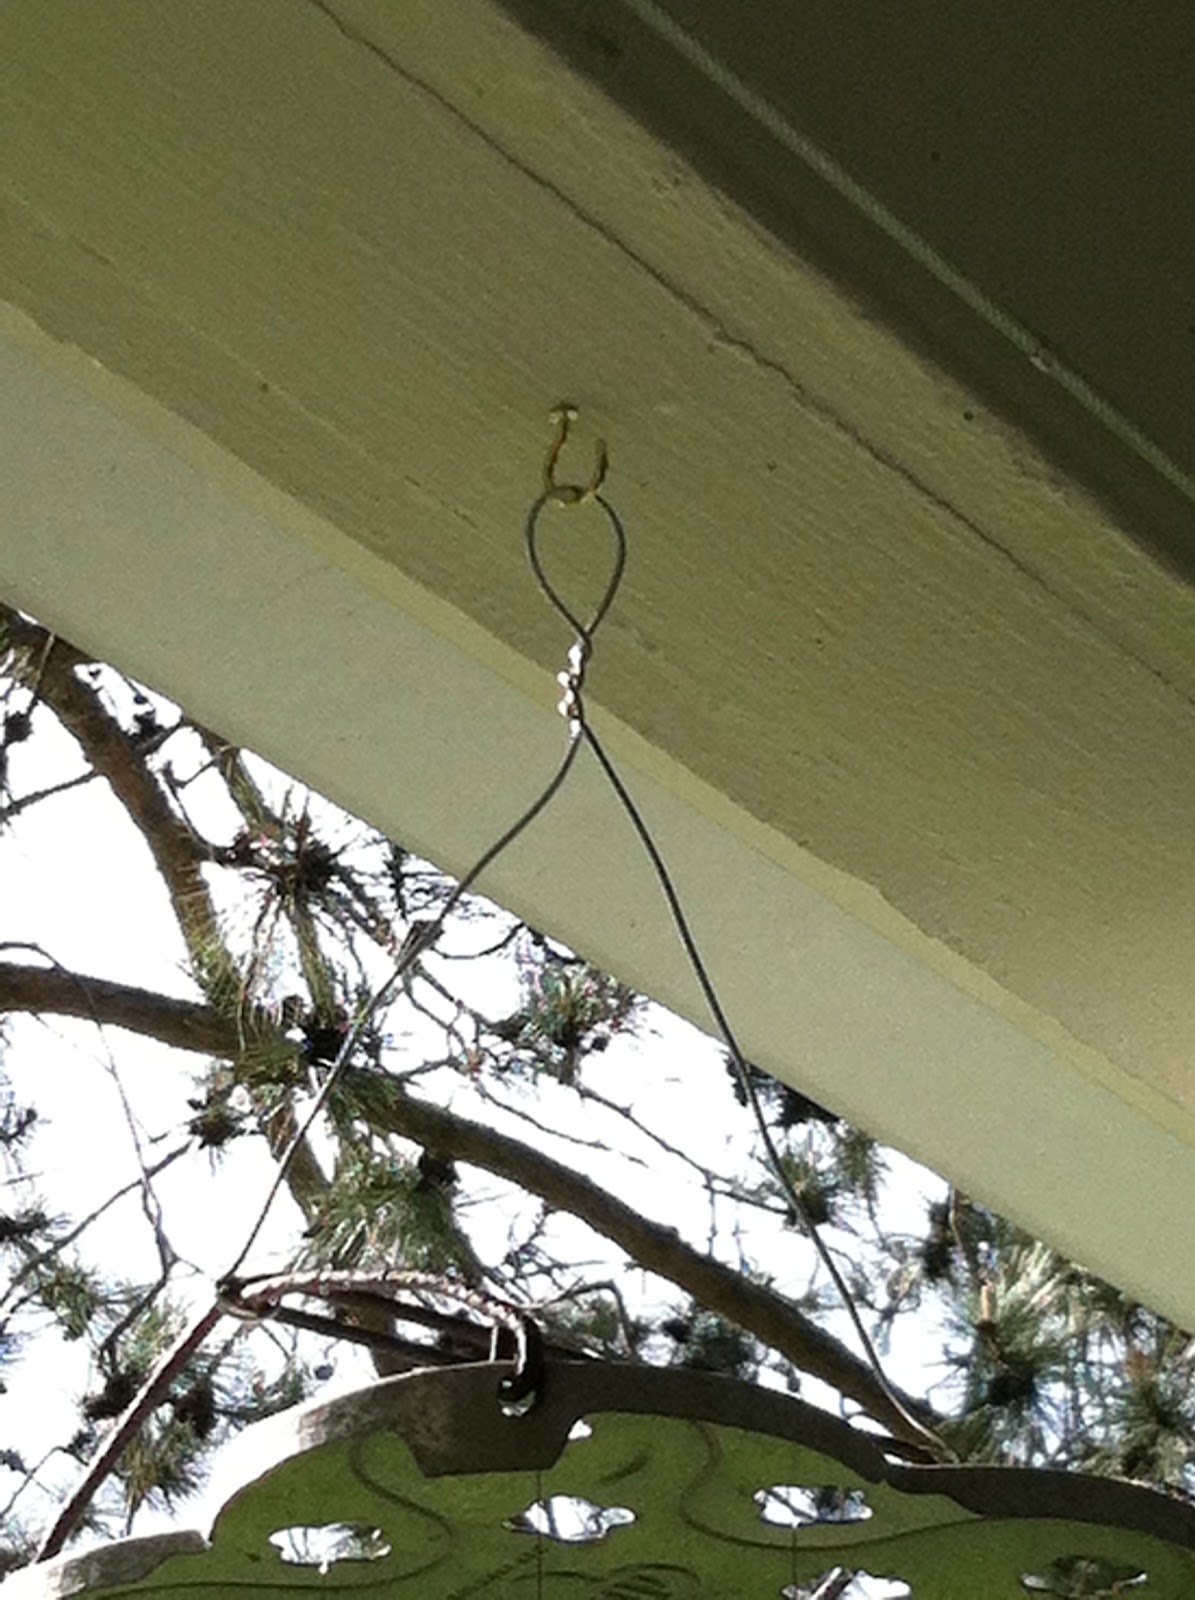
Now, time for the halo. I used wire (sorry, I have no idea what the gauge is, but something that can be bent easily enough with tools but not too easily). I think I bought it at Lowe's. Start by forming the circle first, wrapping the wire around sort of in a knot and then down to make the "stem," making a rounded hook at the bottom. Put hot glue (you're going to need a lot) on the pipe cleaners and wrap them tightly around the wire as you go, so no wire is showing underneath. In hindsight, I think gold Christmas tree garland would probably stand out and pop more, but could be very frustrating to glue on, especially if you're in a hurry!

I just used duct tape (as you can see in the photo above) to affix the wire to the inside of the wings, making sure the wire was long enough so the halo would clear my daughter's head. Of course, it hung crookedly as she walked, which is more than appropriate!

Thursday, October 4, 2012

Halloween Safety

As we head into October and Halloween season, it's fun to pick out a costume and be someone else for a day. But especially with small children, sometimes those fun costumes can have hidden dangers that we just don't think about.

I am scouring the net looking for ideas for my own kids, and came across this one from Parents Magazine. Really cute, but also potentially very dangerous. Why?

Photo credit: Dani Steele/Parents Magazine
Apparently cotton balls are highly flammable. One guy who made a similar costume found out the hard way.

He attempted to light a cigarette, and the hood he was wearing (as part of the costume) caught fire. The fire spread, apparently, and he credits two nearby friends with helping him - otherwise he thinks he would not have been able to get out of the costume in time to save his life.

While obviously your child is not going to be smoking, there are plenty of other sources of open flame, especially at a child's level: luminaries lit on sidewalks, candles, Jack-o-lanterns, etc. Costumes with wide sleeves that hang down (think wizards, etc.), tassels or fringe, or billowy pants with lots of fabric should also be worn with caution. With heavy trick-or-treater traffic it's easy to lose track of a kid momentarily, or not be fully aware that someone is standing too close to something they shouldn't be. We can't seal our kids in a magic bubble, but we can be extra cautious during this fun holiday season.

More reading:

Halloween Fire Safety tips
Is your child's Halloween costume flammable? 

Saturday, August 25, 2012

A treasure trove of Barbie patterns!

I've been busy and on the run all summer - still managing to work on some projects here and there, but not spending nearly as much time in my craft cave as I should. I've been sick for the last two weeks, but my daughter's sixth birthday is approaching so it's time to get back in Create Mode again!

My mom just texted me and asked the age-old question, "What does she want for her birthday?" I'm never quite sure what to say - because we have our fair share of toys and some definitely don't see the light of day that much, which saddens me. She admitted the other day that other than the fact that last year's present, a Cabbage Patch doll, "stinks like baby powder," she also doesn't like the clothes she came with. "We can fix that!" I cheerfully screeched upstairs, coughing and hacking (my husband jokes that I sound like Suzanne Pleshette when I'm sick). So when my mom texted me, of course I immediately thought, "Pinterest!"

I haven't even got to the Cabbage Patch patterns, but instead searched for Barbie first. There are some really wonderful things on there, that definitely take me back to play dates at classmates' houses, trunks of Barbies strewn all over the floor. I had a number of Barbies, but never seemed to have as many clothes for them as my friends did. (I know, I was so deprived...)

There are a number of nice ones available through regular pattern manufacturers, and you can get them anytime Joann's has a pattern sale. Be forewarned, though - as far as I can remember, they're all designed for the older Barbies - the newer ones have had a bit more of a bust makeover (in a lame attempt to look 'more realistic.') Whatever. But it's an easy fix. If you're experienced enough, you probably don't even need a pattern, and I easily created a halter top design just by sewing darts in a rectangle with a Velcro closure. Easy peasy!

Here are some cute ones I found on Pinterest, via craftster.org. : instant nostalgia!

Nice, modest patterns (because who of us haven't noticed that Barbie's wardrobe in stores these days is lacking a little.... fabric?) - my favorite is the second one from the left, top row. Super cute! The poster also includes all the original links to the pattern in the forum post. Excellent!

Here's another one:

Aren't these gorgeous?! I love the fabrics! So cute.

Now all I have to do is get started... if I do one outfit a day for a year......

Thursday, June 14, 2012

Do-it-yourself lampshade tutorial

I love garage sales. Even better is when I have a laundry list of improvements around the house, and find all I need in the $5 pile somewhere - like this lamp.
Loads of banana yellow goodness

I have dreams of making a corner of my bedroom into a little reading spot - a nice little slipper chair, maybe a small table and a lamp. I priced some at Target (not the best quality) and Lowe's (wayyy too expensive) and wondered how that would ever happen. Then I happened across this little baby hiding in a basement corner at an estate sale.

I used a number of tutorials to get started, and then ended up doing my own thing in the end. The basic instructions often use a spray adhesive to attach the fabric to the lampshade, but some have also used fabric glue to tack it down. I used Krylon Spray Adhesive, which was still tacky but repositionable, which always helps. LOL

I started by spray painting the lamp base in a nice nickel finish so it would match the other light fixtures in our bedroom. The spray paint was on sale at the local hardware for store for less than $4.

Then I made a template with the lampshade. I found a roll of brown paper wrapping at the Dollar Store, laid it out flat and rolled the lampshade along and traced the outline. Make sure to leave an extra amount (maybe 1/2 to 3/4 of an inch) on the edges so you can wrap it around the top and bottom of the lampshade.

Once I had my template, I sprayed on the adhesive and attached the fabric. Like I said, it was repositionable, so smoothing wrinkles, etc. is easy peasy. I wanted a somewhat bold, geometric print and they didn't have quite what I wanted, but I picked a nice Waverly pattern (on sale!) called "Viewfinder" (which I thought was cool, being a photography buff) that matched my color scheme perfectly. Note: depending on the pattern you choose, if your lampshade is slightly wider at the bottom than the top, like mine was, it could make the pattern look a bit skewed. If you're okay with this, proceed as normal.) When you go to cut it out, you can probably fix this a bit by lining it up straight on the grain.

Here's where things get fun: normally you're supposed to fold your fabric over once, then once again, over the inside edge of the lampshade to make a nice, clean edge. Since I wasn't thinking straight, I cut the overlap a leeeetle too short, and well, that put an end to my nice inside edge. At first things were going smoothly - I glued it on and then held it with the clothespins as suggested in other nice tutorials - then I realized I could only find three clothespins. So we moved onto whatever we could find next: which happened to be curtain rod hooks. Nice. But at least you get the idea - if you have a zillion of these, it could hold down the double-folded fabric along the entire edge while the glue dries.

If you cut yours too short like I did mine, here's what you could potentially end up with: a slightly messy, unevenly cut and fraying edge. No worries, you just cover that up with a nice binding. More on that later. Here is where I got impatient with the idea of fabric glue and decided to step it up a notch: hot glue. It dries very quickly for us impatient types. And I only burned a little of my skin off once. Wait, twice. Excellent. 

Now comes the next part: normally some tutorials would have the Heat 'n Bond stuff on the outside for a decorative finish. I changed my mind halfway on this one and decided not to do an outside trim, but still had that messy inside edge to contend with. Then I thought how a nice funky ribbon, like the kind you can get on a $1 spool at Target or other craft stores, would look really cute - but I wasn't about to go out again just for that. So I figured, I spent money on that Heat 'n Bond stuff, so I wasn't going to not use it.

I chose the 5/8" width, although in hindsight I probably should have picked the half-inch. It all depends on how wide you want it, and you can of course trim the edges if you're that picky. (Which I contemplated.)

All you do is make a basic binding - cut a strip of fabric (mine was about two inches to account for the folded sides) and fold over the edges, with the Heat 'n Bond sandwiched in between - then press.
Measure the binding to the circumference of
your shade and glue into place.
Once I had all my hem tape made, I then hot glued it to the inside of the shade - it covered up all those rough edges and glue boogers nicely. You could easily do the same along the outside edge if you wanted, too.
Trim is in place. Hot glue is such a marvelous invention. 
Time to plug it in (hope it works!) and
enjoy. The nickel finish paint turned out
quite well, I think. 
A close-up. You can also add a layer of white fabric in
between if your fabric is especially light-colored or thin.
You may want to test it out first,  just in case! 

Wednesday, May 16, 2012

Spoon wind chime tutorial

Spring is here and it's time to spruce things up outdoors! We are fortunate to have a great front porch, and once I started treating it as a 'room,' it's been fun to decorate.

Years before there was Pinterest, somehow I got the idea to make wind chimes out of a set of old flatware. I scoured garage sales and antique stores and found exactly what I needed for the job. Today I decided to restring the spoons and thought I would share the project with you.


I bought this at an antique store on Cape Cod. It looked much better when I bought it, but it's been outside exposed to the elements since then, so is showing some wear. At first I thought it had to do with canning, but apparently it's a roasting pan. Those interested can buy one on eBay for a starting bid of $8.99 - I bought mine for much less, I'm sure!

Next come the spoons. I decided to use all spoons in my set, although I've seen some nice ones with all forks.
After hanging outside for awhile, they've developed a nice patina. I think they're silver plated, which produces a nice sound. As you can see, we drilled holes in the ends to thread the wire through. You do have to use a special drill bit for this or it won't penetrate and will break the bit.


I threaded the wire through the holes in the roaster and then tied it off on both ends of the spoons, making a quadruple knot. I pulled on it with the pliers just to make sure it was strong enough.


I used a heavier gauge wire to make a hanger with, which requires wire cutters and pliers. Nothing fancy, but it does the trick. You could even string beads on the wire for added decoration.

For the spoons, I used tiger tail wire from my beading box so it's strong yet flexible enough to let the spoons move in the breeze. They sound wonderful!

Wednesday, May 2, 2012

Dream craft rooms

I think it's every crafter's dream to have a sewing/craft room - a designated space to spread out, not worry about having to put stuff away, and just be left to your own devices. I do have a nice musty corner of the basement to myself, so I should consider myself lucky. It survived one mouse invasion (which really encouraged me to pare down my stuff - if you're facing this problem, realize that mice apparently have no bladder, which means they randomly pee at will). In our last apartment, the maintenance department graciously turned an old unused commons area into a sewing room for me, which was great (until heavy rains meant water seeping down the walls and onto the floor, and an occasional frog would take up residence). Anyway, I guess I shouldn't complain.

You've probably caught glimpses of my craft area in other photos on the blog - usually it involves a pile or two of something or other. The bad part is that in getting my motivation back, I usually spend a lot of my time organizing or looking for something when I do find time to get down there.

I love looking at photos to get me inspired. These are definitely some drool-worthy spaces!

Image: Better Homes and Gardens at bhg.com via Pinterest
I love the designated tables for each area - which means no packing things up and putting them away just to make room. I bet you could pick up one of these at a garage sale - repurpose something old and just give it a fresh coat of paint to brighten it up. The giant cork board above the sewing table is awesome! And the cubbies would be easy to do with a combination of shelves from someplace like Ikea - the 'Billy' model is very popular with "Ikea hackers" who change it up and turn the units into something amazing! I also love the bright colors - very fresh and inspiring.

Image: Better Homes and Gardens at bhg.com
I love how everything has its place - fun containers make it easy to see and find things. I do something like this, only it involves old coffee cans with holes punched in them. LOL

Image: Better Homes and Gardens at bhg.com
Hey, I remember those nasty old 1970s dining room chairs! I never thought they could look so cute - just put a funky coat of paint on them to transform them into something new and definitely much more exciting. 

Image: Better Homes and Gardens at bhg.com
This is a great way to turn a closet into an uber-organized space. 

Image: Better Homes and Gardens at bhg.com
If you don't have thousands of dollars to plop down for an official redo, cup hooks can work just fine to hang things from. Peg boards are another idea to keep things up and out of the way but still within reach. I like how the rolls of fabric and ribbon are stored here, but I've done something similar with a dowel rod and bicycle hooks hung from the rafters of my basement. If you don't mind the MacGyver look, it works well to hang work lights from or clothing on hangers after ironing. I also originally used it to hang photography backdrops from, after sewing a simple casing on a large piece of fabric. It worked great!

Photo: http://www.flickr.com/photos/twelve-paws/2237546289/
via Pinterest
And this is just totally awesome. I know it's a cloth diaper stash, but I thought how it would make a great easy-to-access storage area for things like fat quarters, paints, notions, patterns and just about anything. It's out in the open so it's easy to get to and see what you have on hand right away without having to dig (too much). Love it!

Happy crafting!

Tuesday, May 1, 2012

Find me on Facebook!

I decided to create a fan page for the blog - hopefully it will help me to get inspired and share great ideas with others! My sewing pile is getting bigger and bigger, and I want it to get smaller - which means I will actually have finished something!

Find me on Facebook!